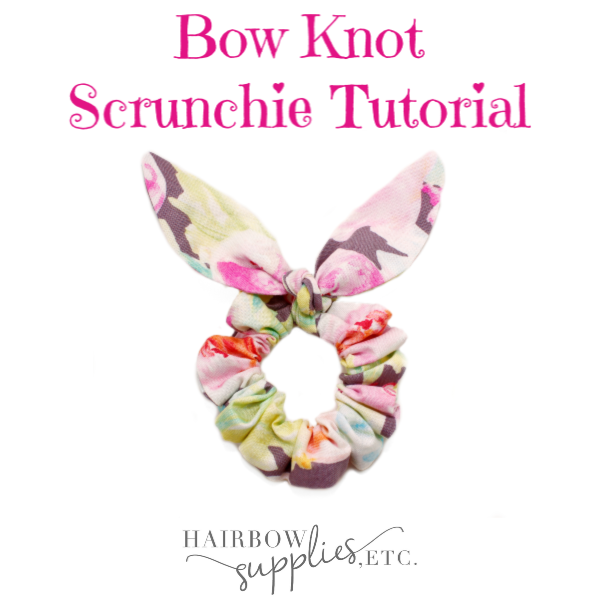
Scrunchies! Bunny Ear Scrunchies! Bow Knot Scrunchies! Who’s loving some scrunchies? Today we’re making a spin on DIY scrunchies and adding a totally cute bow to the top! Can you just feel the excitement?! This knot bow scrunchie tutorial is totes adorbs when it’s styled in your hair because the tails hang down and add such a cute accent! You can make the bow knot much longer if you’d like to add more pop to your DIY hair accessory! You can make these easy handmade scrunchies in minutes with our free pattern and tutorial!

Let’s get started, shall we?
You need to gather your supplies:
22 x 3 inches of Fabric (there’s a ton of cute fabrics on Amazon!
12 x 5 inches of Fabric
9 inches of 1/4 inch skinny elastic
First, get your 22 x 5 inch piece of fabric. This is going to be your scrunchie. Fold 1/4 inch down on the ends.

Then, fold right sides together longways to that you’ll make a tube.

Then, go to your sewing machine and sew down 1/4 inch of your tube. Now, take your safety pin – go to one of the ends of your tube and safety pin the edge.

Next, push your safety pin through the tube. This is going to help you turn your tube inside out. Once your tube is inside out (or right side in, I should say), remove your safety pin. Once that is down, take your scrunchie and go to your ironing board. Iron your scrunchie tube flat.
Get out those wrinkles, girlfriend!
Did I ever tell you I like the color pink? Like not just any pink, but HOT Pink…. Fuchsia Pink! The next best thing to fuchsia is good ol’ trusty light pink. I am using 1/4 inch skinny elastic in light pink for this project just because it’s fun and cute. Nobody will see it inside the scrunchie, but it just fills me with joy to use it, so that’s what I’m gonna do!
Take your safety pin out again, and pin it to the end of your elastic. Now, take your safety pinned elastic and run that sucker through the middle of your scrunchie tube. Go ahead and remove your safety pin from your elastic. Grab your elastic ends, loop them around your fingers to make a knot. After that, scoot your elastic around the scrunchie so your knot is hidden inside your scrunchie.
You’re almost there!
Tuck one end of your scrunchie inside the other at least an inch. Then, get back to your sewing machine and sew 1/4 inch seam over your overlapped edges to finish your scrunchie.
Woot! You finished the first step! Now for the fun part! …. The bow knot!
Grab your 12 x 5 inch piece of fabric. Fold it in half to the left (right sides together).

And then fold it in half up and down. Make sure you fold exactly this way or your cut of fabric will end up funky.

Okay so get your pencil and draw a leaf shape from left to right onto your fabric.

Then, cut out your shape and it will look like this….

Now, fold it in half top to bottom (and right sides together). Sew 1/4 inch seam on your fabric from point to point. Be sure to make a break in the middle. The break is so that you can turn it right side in. See my picture below. The line I drew in purple is where you need to sew.

Next, turn your fabric inside out. Get a pencil and run the pencil up the seams to make the edges poke out just right. Also, use the point of your pencil and poke on the edges of the fabric so that your points come out nice and sharp. My Sailor Hair Bow tutorial also shows this technique on how to take the pencil and make the seams and points perfect.
Take your fabric and iron it out nice and flat. Next, where the hole in the fabric is (where you turned it inside out), take your hot glue gun and glue those 2 pieces back together. This will be hidden shortly.
Lastly, take your scrunchie and where the seam of the scrunchie is, take your bow knot fabric piece and tie a single knot in the center of your scrunchie. Excellent!

Now you are done with making your bow knot scrunchie! I was able to make my scrunchie in about 10 minutes! It’s amazing how fast you can make these!
Check out my Infinity Hair Bow Tutorial as well! It’s so unique and would be so pretty on a clip with your hair pulled up to the side!