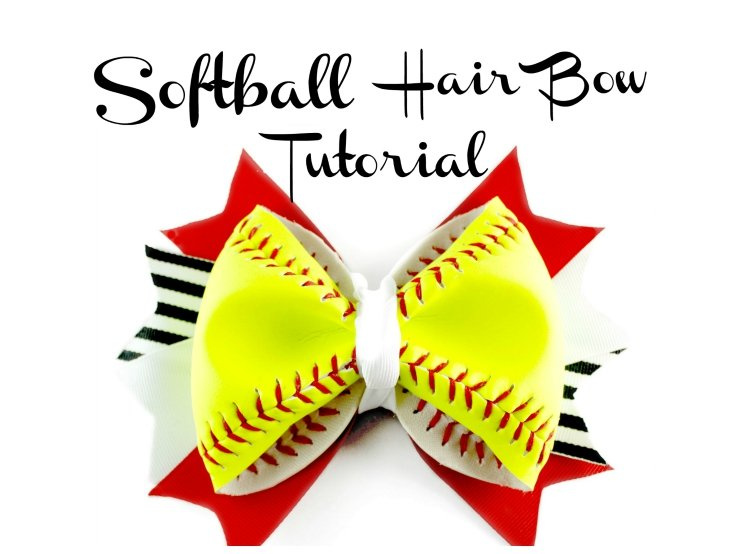
This is absolutely one of my favorite hair accessories to make! If you play softball, or are a softball mom, this DIY softball hair bow will sure make your player the star of the field! I was thinking of some softball hair bow ideas and this one is the most unique when using a real softball. There are a few different sized softballs that you can use to make this hair bow, but any size will work just fine for this hair bow tutorial. Using a real softball in this DIY project makes the hair bow a bit heavier, so it’s a good idea attach your hair bow with a french barrette to make sure it stays put. The realness of the softball in this hair bow is such a conversation piece! All the girls on the team will be wanting you to make them one!
The supplies you need to make this hair bow are:
A softball (they come in packs of 12 on Amazon) – any size will work fine for this project.
A utility knife (box cutter)
4 pieces of 1-1/2 inch ribbon that is 6-1/2 inches long (this will be for your spikes). You might want to coordinate this with 1-1/2 inch polka dot ribbon.
8 inches of 7/8 white ribbon
6 inches of 3/8 inch white ribbon
Let’s get started! First we will be making the softball portion of the bow. So, you need to get out your utility knife and your softball. Take your softball and start to cut the softball about 1/2 inch to the right of the red seams. You are going to use the hourglass portion of the softball.

Now that you are done trimming, and then peel off the inside of the softball. If you didn’t cut good enough, then trim a bit more of the softball off. You just want the leather part of the bow, not the inside of the ball part. It should come off in a nice piece.
Next take your flaps and put meet them in the center. Next accordion fold your softball so it gathers in the center. Now get your 3/8 inch ribbon and tie a knot to keep your cinch together. Your softball flaps will still be out at this point. Trim your knot with scissors.
Next you will get your hot glue out and hot glue the flaps to the inside of where you just tied your knot. Make sure your flaps are touching right in the center, not overlapping. Hold the flaps still after you put the hot glue on to make sure that the glue dries.
Spikes: Take your 4 pieces of 1-1/2 inch ribbon and fold the tops, and cut them on an angle to create your V-shaped tails. Then get your lighter out and seal the edges (which just means passing the flame gently over the top – not too close to where it makes a black mark.)
Put a dab of hot glue in the middle of the bottom spike and start to stack your spikes on top of each other. You will line them up point to point together in an X shape. Be sure to add hot glue as you go with each spike that you add.
Next, add hot glue in the middle of your spikes and then place your softball on top. Then flip your bow over, add some hot glue, and add your alligator clip or your french barrette.
Get your 7/8 piece of ribbon and tie a knot in the center. Then place hot glue over the top of your hair bow and place the center of your knot over this. Once the glue cools, flip your bow to the back and then bring the 7/8 ribbon to the back. Pinch open your clip and place it over your alligator clip. Make sure to seal the edges of the ribbon with a lighter. Pull your ribbon through and wrap it over the clip and add more hot glue to make sure the ribbon stays over the clip.
And that’s it! Go team!
Hope you enjoyed my softball hair bow tutorial and check us out next time for the next DIY project!
Let me know in the comments how your hair bow turned out!