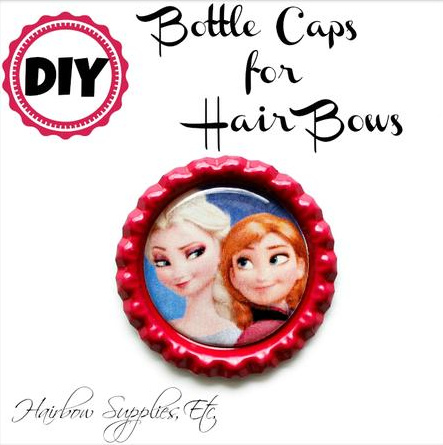
There’s so many crafts you can make with bottle caps like hair bow centers, jewelry, earrings, art, and more! Today we’re making a bottle cap hair bow center. These are so much fun to make, and you can print countless amount of digital images to place on the inside of your bottle caps. It’s really my favorite thing to use this bottle caps to make hair bow centers because that way I can make a special hair bow for my daughter to go with any outfit or special character that she loves!
First, you need to gather your supplies:
1 inch Bottle Caps – I like to use flattened bottle caps
1 inch Epoxy Dot Stickers ( we sell epoxy dot stickers in clear and glitter)
Digital Images (in 1 inch round stickers)
First, you want to order your digital images and print out your images in color. Then, get your 1 inch round circle punch and cut out your images. What I do is double stack a second piece of paper under your image while cutting it. It helps to make the circle punch to work the best and cut your image in a nice, sharp circle.
The trickiest part of making digital bottle cap images is making sure that your images are the right size. I have accidentally ordered the wrong size of images before which can be frustrating and a waste of money. Just make sure that you look for the 1 inch size when you are ordering them.

Get your bottle caps out and find a color that will match your images. We have 11 colors of bottle caps to choose from in our shop.
Take your image and place it inside your bottle cap. Then, take the plastic film off the top of your epoxy sticker and place your epoxy dot directly onto the image. Yes I know your image isn’t hot glued to the epoxy sticker yet – that part comes soon!
Now, to make your image really firmly attached, and to have your image show real strong through your epoxy sticker, is to take your fingernail and scrape against the back of your image. This gets all the tiny bubbles to come out of your image. It really makes a difference!
Now, place a thin layer of hot glue in the inside of your bottle cap. Place your epoxy dot with image on top of your bottle cap. Push the image down onto your hot glue and make sure to flatten it nicely. Once this is done, you are ready to use your bottle cap in all sorts of ways – for jewelry, crafts, necklaces, and of course, hair bows! Have a great day, y’all!
I also made this adorable Penguin hair bow using the bottle cap hair bow center, and chose the white bottle cap to match the penguin face and the print.