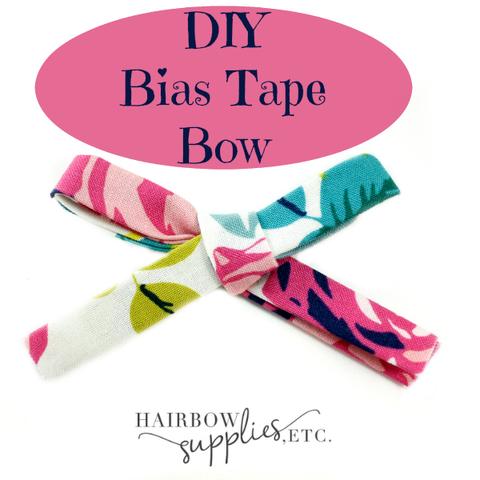
The bias tape hair bow is so much fun because it’s 2 DIY projects all in one! You can buy bias tape at any craft store, but it’s much more fun to make it because you can use the prettiest of fabrics to make bias tape! People have asked me what bias tape is for, and it’s traditionally used as an edge on things such as clothes and quilts. In this tutorial, I will show you how to make a bias tape bows for babies.
In order to make a bias tape hair bow, first we will need to make the bias tape.
Gather your supplies:
13 inches by 2 inches fabric (my favorite fabric store is Hobby Lobby
First, you need to cut your fabric. The easiest way to cut a large piece of fabric is use a ruler, cutting board, and rotary cutter.
Next, please warm up your iron. Fold your fabric in half and then iron it all the way down. When you are ironing the fabric, be careful to fold it, and lay your iron on top, and press. Then, go down a bit further and fold again, and lay your iron down again and press. If you drag the iron down, then sometimes the fabric can slide a bit and make your crease off center.
Next, fold your fabric into the inside once again. Then, iron again.
Lastly, take your fabric again and fold both ends inside one more time. Then, iron it down again. Now, take your fabric and sandwich it all together and press the whole piece down.
You did it! You made bias tape!
Now, we are going to start making your bias tape hair bow! This is really an easy DIY hair bow!
Take about a 2 inch segment of the fabric, and then make a loop. Then wrap your fabric around the loop and pull the loop through. Just like tying your shoes!
Then, grab your scissors and trim your edges so that your bow tails match equally.
I really love the bias tape bow! One cute way you can use this is to wrap the bias tape bow around a nylon headband and use it for a baby’s headband! It’s an adorable hair bow to make for an infant! And my tiny hair bow tutorial is such a cute hair bow to use for a tiny baby as well!