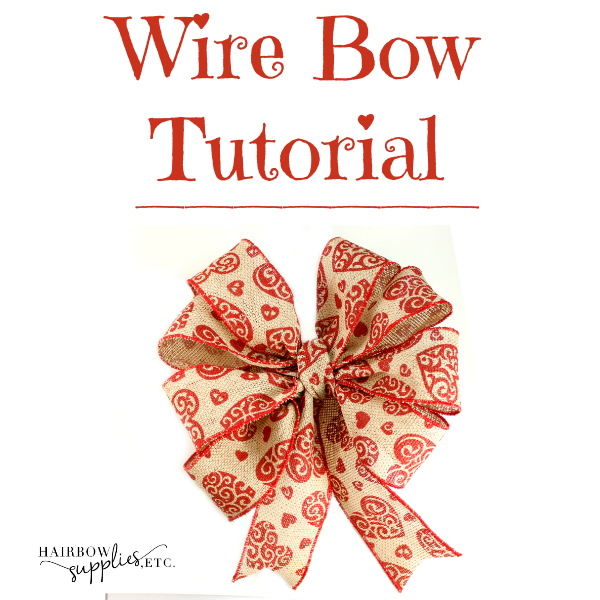
So my mom need me to make a bow with wired ribbon for a wreath at her antique shop. So, I thought I’d show ya’ll how to make a wired ribbon bow while I’m at it. So, a wire bow is about the most basic bow to make for putting on wreaths. Most large bows with wire ribbon have at least 8 loops with a wire center loop.
This is their booth when it was being build at their antique shop in Chattanooga, Tennessee. They had these really pretty sliding doors that my mom put wreaths on to decorate her booth. My dad built the entire booth layout to make it look like a barn.

But you can see the barn doors they have, and they put the wreath on the doors for Valentine’s Day. I’ll see if I can get my mom to send me a photo of what the wreaths looked like on the doors during Valentine’s Day.

Let’s get down to making that wired bow! You’ll need to round up the supplies you need to making the bow you’d like to make. I made a Valentine’s Day wired bow, so I found some pretty printed wired ribbon.
Supply List:
Wire ribbon (about 3 yards)
First, take your ribbon and measure about 5 inches. This will be your first tail. Next, you’re going to make your first loop. Start at the 5 inch mark and make a loop. After the loop, twist the ribbon around once and place the twist back in your hand. Then, make your second loop and make sure it’s the same size as your first loop. After your second loop, twist your ribbon again. What I love about wire bows is that once you make the loop, the wire holds it in place.
Continue all along and make 4 loops on the left and 4 loops on the right.

When you are making your bow, fan out your loops a little to the left and to the right. Basically make sure the loops aren’t right on top of each other. So, now you should have your 8 loops made and holding the twists in your hand.
At this point, take your twisty tie and put it over the middle of the bow and twist it all around.
Next, fan out your loops along the way, four on the left and 4 on the right. Seriously, just mess with the loops and fluffy them up and out to make your bow puffy and round.
Then, take the long ribbon piece that’s left over and wrap it around the center and make a center loop. Bring that piece up and around the back of your bow. Make a twist in the back to secure it. Then, take some hot glue and put a dab of glue in the back to make your center loop stay.
Lastly, take your ribbon tails and get your scissors out. Fold the edges of the tails, and cut them on an angle to make a tail in a V shape.
Finally, fluff up your loops as much as you like. I love when you use a wired edge that your loops stay exactly where you put them! It makes things a lot easier!
So that’s it! That’s how to make a wired bow! I had to make 2 of them to put on 2 wreaths that she had at her booth at her antique shop and it turned out fantastic!